Saving Product X: A Design Thinking Case Study
Have you ever wondered if you can apply design thinking principles with a limited time and budget? If so, check out this in-depth Design Thinking use case, which details how Design Thinking helped a company to save its product.

By Luciano Castro
Luciano is a business-driven manager with over 15 years of experience as a CTO and CEO in multinational companies and startups.
PREVIOUSLY AT
What is Design Thinking?
Imagine that you have an idea. You come up with an ingenious application which you think will solve your business problems. There are currently no identical solutions on the market and the one which is most similar is not really working in the way that customers expect it to.
While your vision is still fresh, you start thinking about the first fundamental question that comes to mind: “How long will it take to get it done?”
And since we rarely find ourselves with unlimited budget and time, the second consequent question comes quickly: “How much will it cost me to do it?”
Both of these are fundamental and crucial questions in the making of a product, but often they are precisely the wrong questions to start with.
Instead, the most important question to ask first is: “What value can I create for my users?”
To better understand the scope of a project, requirements, and timing we can use a methodology called “ Design Thinking ,” which helps us during the “Discovery Phase” of a product. This is exactly the time when we need to understand not only what will make a great product, but also how and if we should do it. This creative and experimental approach helps us to better understand how to create things that are not only usable but above all, useful.
The Design Thinking process is particularly useful because it generates a unique and specific outcome: knowledge.
This methodology has a wider scope of use , but for the purpose of this case study on Design Thinking, we will focus only on one specific field - Software Product Development.
The Theory of Design Thinking
Before we delve into the practical applications of this Design Thinking example and my experience applying it, let’s take a deeper look at the Design Thinking process.
Design Thinking is a methodology that provides a solution-based approach to solve problems. It focuses on understanding the user perspective, with a human-centered point of view. The power of this methodology is the possibility to test quickly if an idea, solution or enhancement can bring real results to our customers. Integrating different methodologies, tools, and techniques coming from different fields (marketing, psychology, design, business), the purpose of Design Thinking is to put the user on the very center of the problem we have to solve.
The goal of the methodology is to “find the user itself and define its needs” and by finding those needs, create a solution or a product that can be really useful. To achieve this goal, the whole concept is split into six design thinking phases .
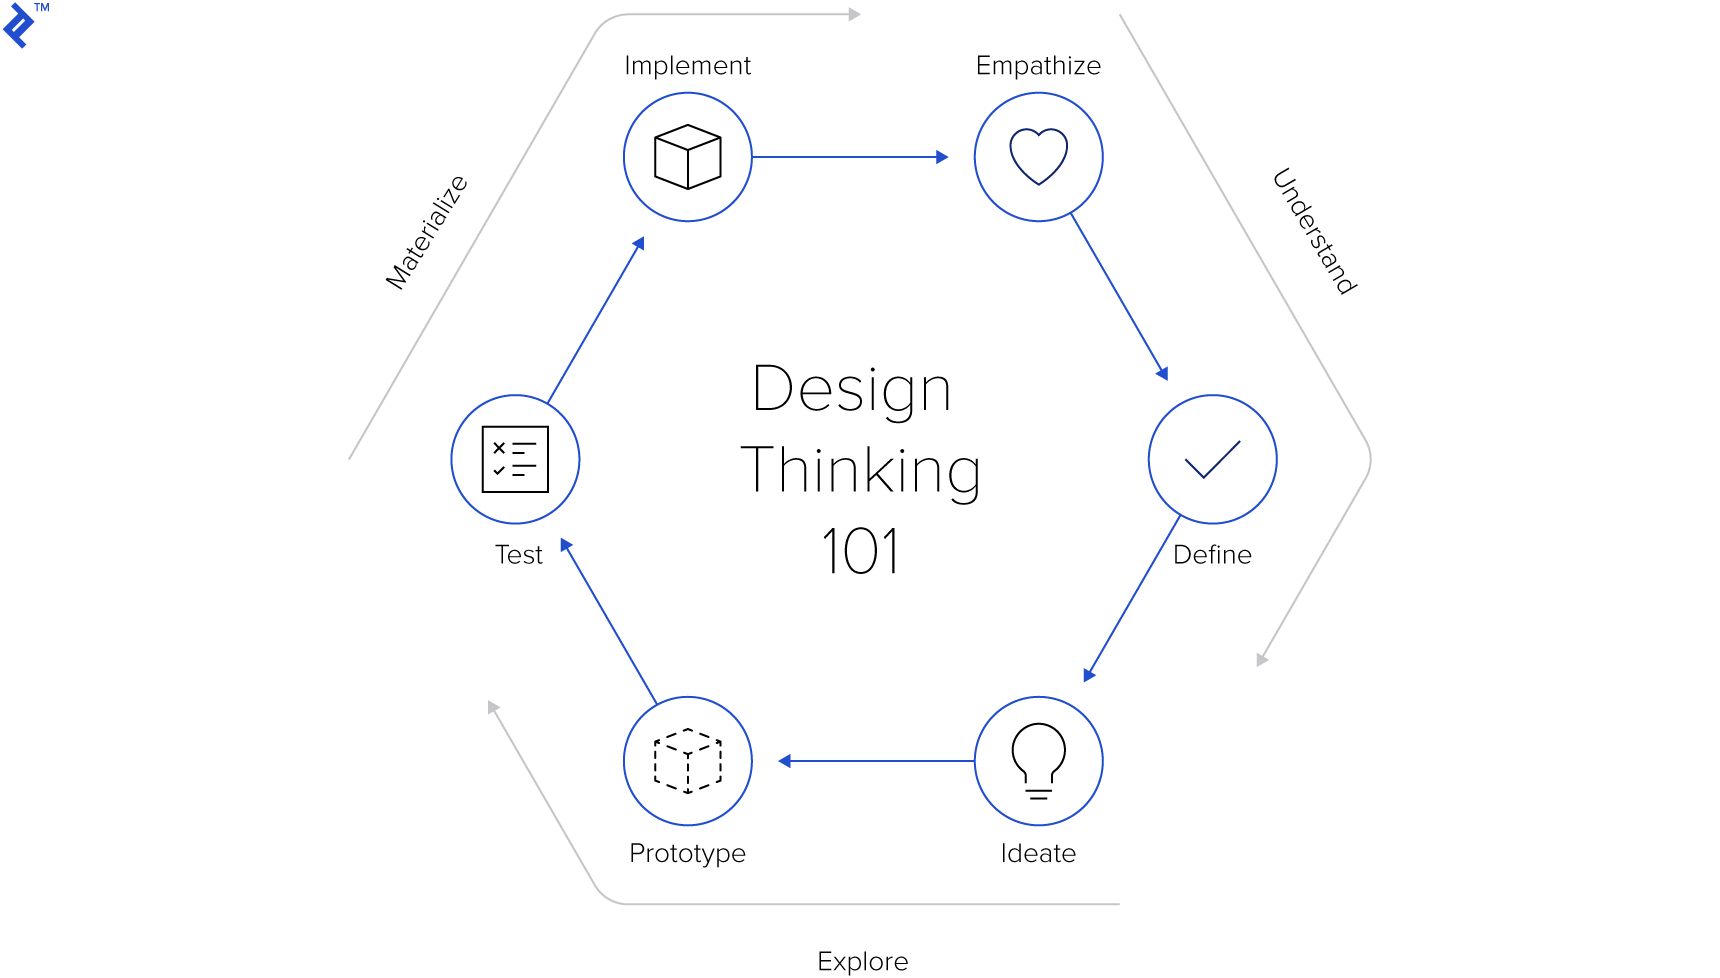
- Empathize: The goal of this phase is to understand your customer, by searching and gathering information about their business. During this phase, we can use several different tools, such as interviews, focus groups, observations, and surveys.
- Define: In this phase, we collect and categorize information from the Empathize phase . It’s here where we define User Personas and User Journeys.
- Ideate: Using the above information, here the team ideates solutions. There are no silly or wrong ideas! Everything must be expressed and documented.
- Prototype: During this phase, something tangible is created, that will allow you to verify your idea in real life. Don’t overcomplicate and create this MVP as quickly as possible.
- Test: Verify your idea in real life with actual users. Get feedback. Ask questions on how to improve it.
- Implement: This is the phase where all the collected knowledge gets translated into a final product.
If after reading this you may be thinking: “This is great but how is this going to help to quickly make my app a reality.” In order to make this more tangible, I will go over a case study for design thinking from my personal experience.
Design Thinking Project: A Real-life Case Study
Intro: project x.
Some time ago, I found myself at a meeting with an entrepreneur, a few managers , and many ideas flying around the room. Their direct competitor had recently released a new application and the tension was palpable. The company wanted to go out with something new on the market, to avoid losing ground to their competitor.
They prepared a document with some requirements, a vague idea of what the product should look like, and how much should it cost.
“We have to follow what others have done, with a lower price,” the Marketing Director said. “We have to create a more usable system, which simplifies the user journey,” added another manager. “We have to change the way we collect information, simplify it and integrate our processes with third parties,” said another. “It will take us months,” the technical manager shook his head, who mentally translated all those requests into hundreds of hours of code to be implemented.
While I can’t disclose all of the project details, I can disclose that the product was hub communication software . This piece of software managed different channels (email to SMS, fax to VoIP) and it was created for the web and mobile platforms. The product was originally created a few years before, but its usability was poor. At the time of the launch, the competitor was far ahead in terms of user experience. Moreover, they had an excellent mobile app, which was gaining ground in the mobile app store.
Company X was a traditional process driven company, familiar with traditional projects. It had run a few Agile projects in the past, but it was new to the idea of creating an MVP and testing it on the market. More notably, they feared the unknown. What if the new MVP would have an undesirable or unpredictable effect on their customer user base? This lack of control didn’t inspire confidence.
The meeting described above and the following ones did not lead to a clear definition of what the product to be achieved actually was. We only knew that we had to hit the target as soon as possible.
However as the project progressed and a competitor was beginning to gain traction, consent from the company was solidifying. Most agreed with the idea that: “We cannot afford to launch a half-finished product, we need a product that is working from the start.”
Despite some initial perplexity and fear, this was an opportunity to learn what would bring real value to their user base and potentially attract more users by making a streamlined lightweight product.
This prompted the company to look for approaches that they haven’t tried before, in order to have a complete product built on time even if it’s going to have only essential features at its launch. We decided to use the Design Thinking process and focus on the things that would really bring value to the end user and thus, beat the competition by bringing only what’s necessary to the customer.
Stage 1 - Empathize
Empathizing Phase: The goal of this phase is to understand your customer, by searching and gathering information about their business. During this phase, we can use several different tools, such as interviews, focus groups, observations, and surveys.
In the most literal sense, empathy is the ability to understand and share the emotions of others. In design thinking, empathy is a “ deep understanding of the problems and realities of the people you are designing for.”
Our first step was to ensure that the Highest Paid Person’s Opinion (otherwise known as HiPPO) was not ruling over everyone else’s. Therefore, together with managers and the founder, we have compiled a list of possible stakeholders to be involved in the decision-making process.
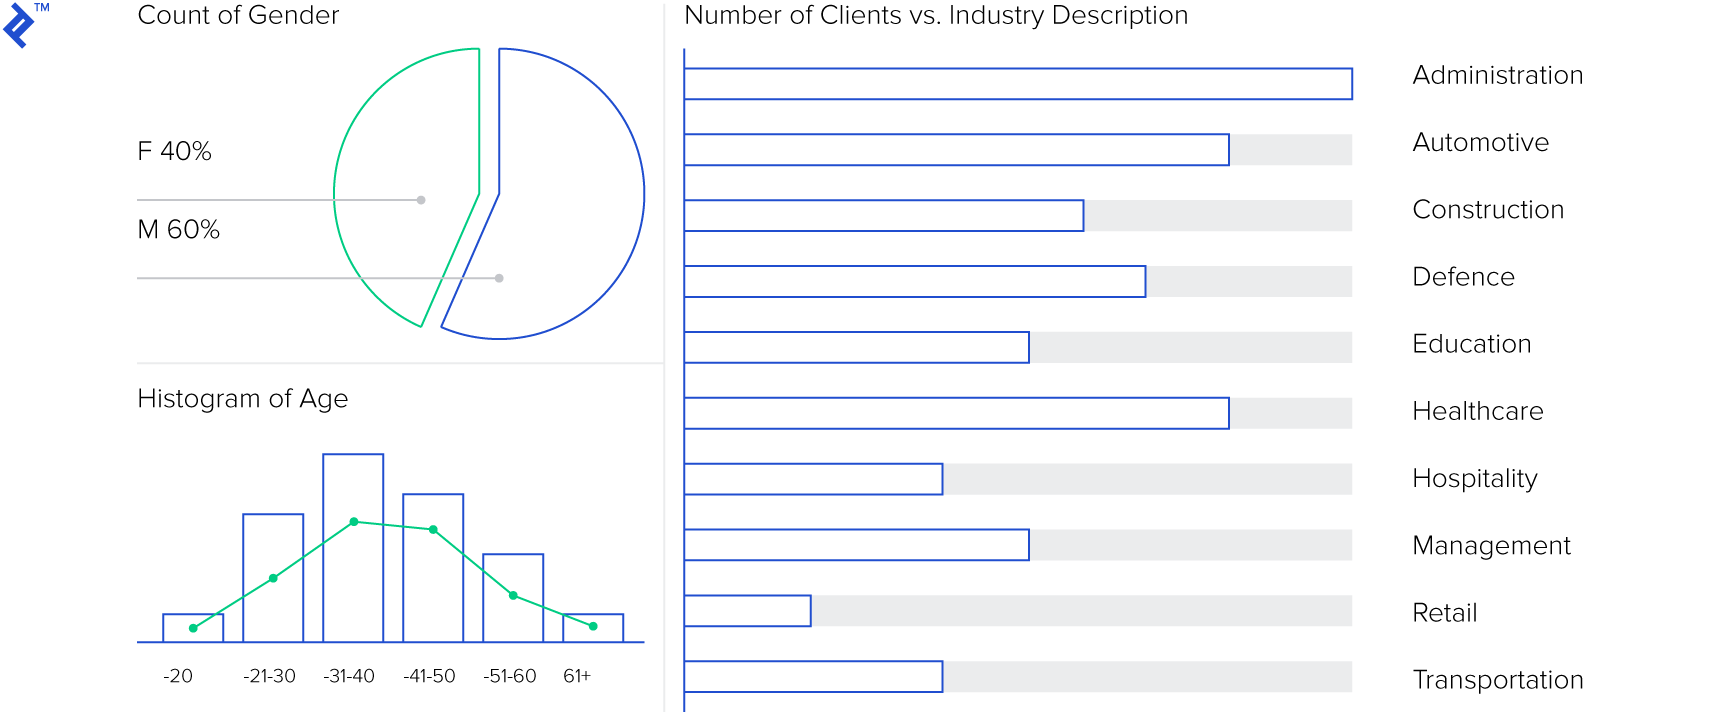
In a day-long meeting, we compiled the first list of 30 names (between employees, functional managers, and customers) that could be contacted directly and then we also picked a target audience of 4000 customers (about 10% of their recurring customer user base).
We tried to “normalize” our target customer base as much as possible, by including diversity in terms of gender distribution, industry, and other data points. To add an additional level of complexity, the physical location of the sample to be interviewed were all divided into different cities and in some cases countries. We now had points of contacts to carry out interviews and questionnaires.
The group was organized to carry out the interviews remotely, following a scripted set of questions and some basic rules:
- During the interview, try to use the “ 5 Whys ” technique.
- Try to understand the main “What, How, Why” behind every behavior.
- Make sure the interviewee used a webcam and that there was sufficient distance from the camera to be able to at least partially include the body language.
- Record all interviews, in case they need to be seen in the future.
We prepared our interview questions with the intention of understanding which main features should be enhanced or eliminated, such that we could quickly build a new version that responded to the needs of our users.
For the second group of users, we prepared a series of questions in a Google form . We opted for multiple-choice questions, with some formulated open-ended questions to facilitate more interaction from the users, including a question requiring the user to try the new version of the product just available in closed beta.
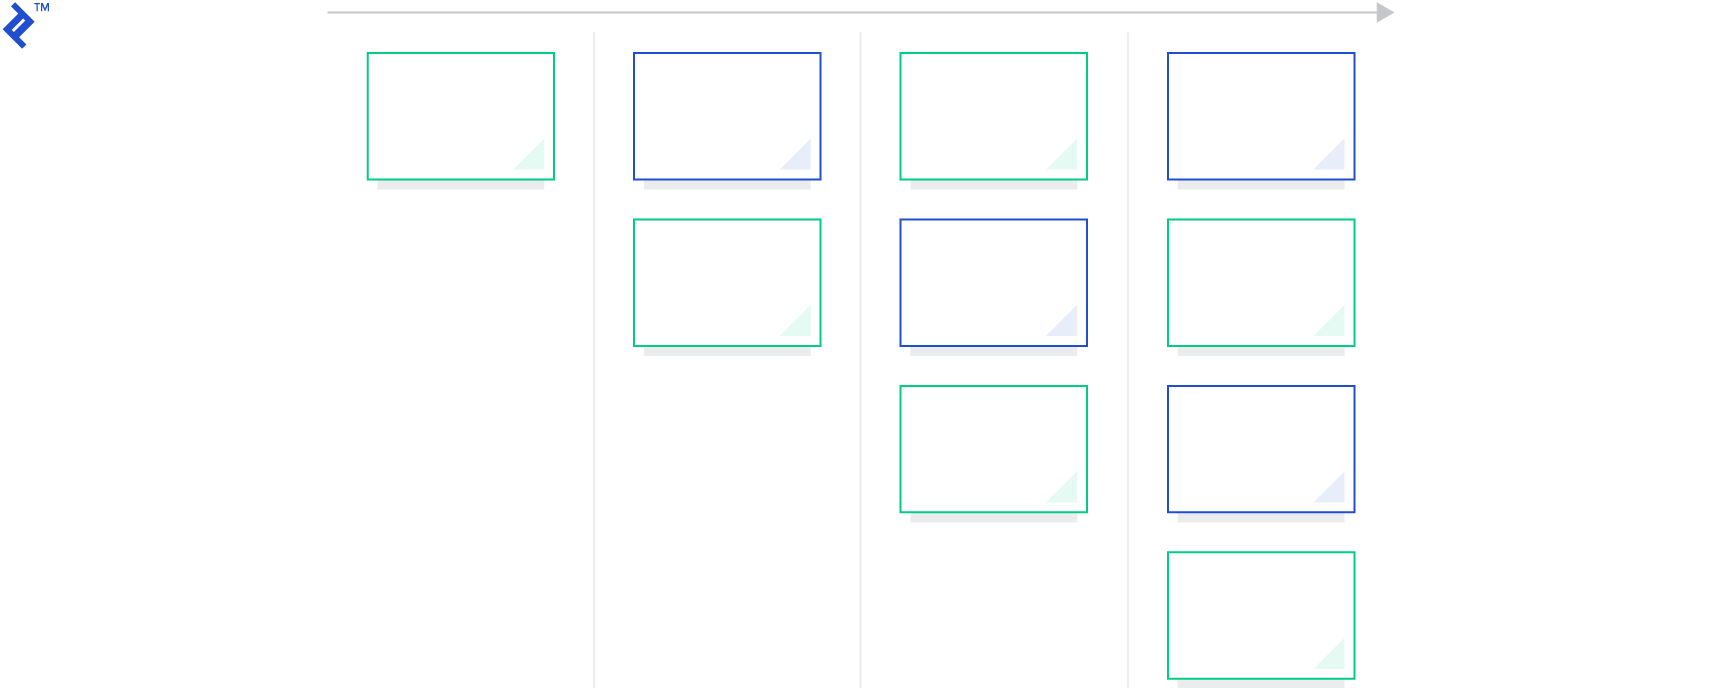
To organize the entire information gathering process, we used remote tools that allowed the team to collect information more easily, including Skype, Zoom, Google Forms, and a digital Kanban Board where we put all of our activities and tracked their status.
The first results of the interviews were encouraging, as the interviewees were open to providing feedback on the weaknesses and the strengths of the system.
However, the first batch of questionnaire answers was much less exciting: out of all 300 emails sent, only 5 people completed their questionnaires.
Disappointed by this result, we were ready to try new ways to involve the user base, when one of the sales managers came to us with an idea:
“I do not think they will answer any emails, they are not used to interacting with us. But, if we communicate with all those who have an expiring renewal and give them a small incentive, I am sure they will give us a hand.”
The idea was simple but exceptional. In a few hours, we had a new list of users (3800), which maintained the same division between the mainstream and extremes. However, these users would be “forced” to interact with the system, due to the proximity of their renewal.
This time around, they were asked to answer a series of questions, participate in the beta and in return, get a discount on renewal. The adhesion was complete and at the first delivery of this new model, over 70% of users replied and completed the questionnaire.
After iterating and changing some of the questions, and thanks to some users willing to interview more than once, we were ready to define our user base more clearly.
Stage 2 - Define
Defining Stage: In this phase, we collect and categorize information from the Empathize phase. It’s here where we define User Personas and User Journeys.
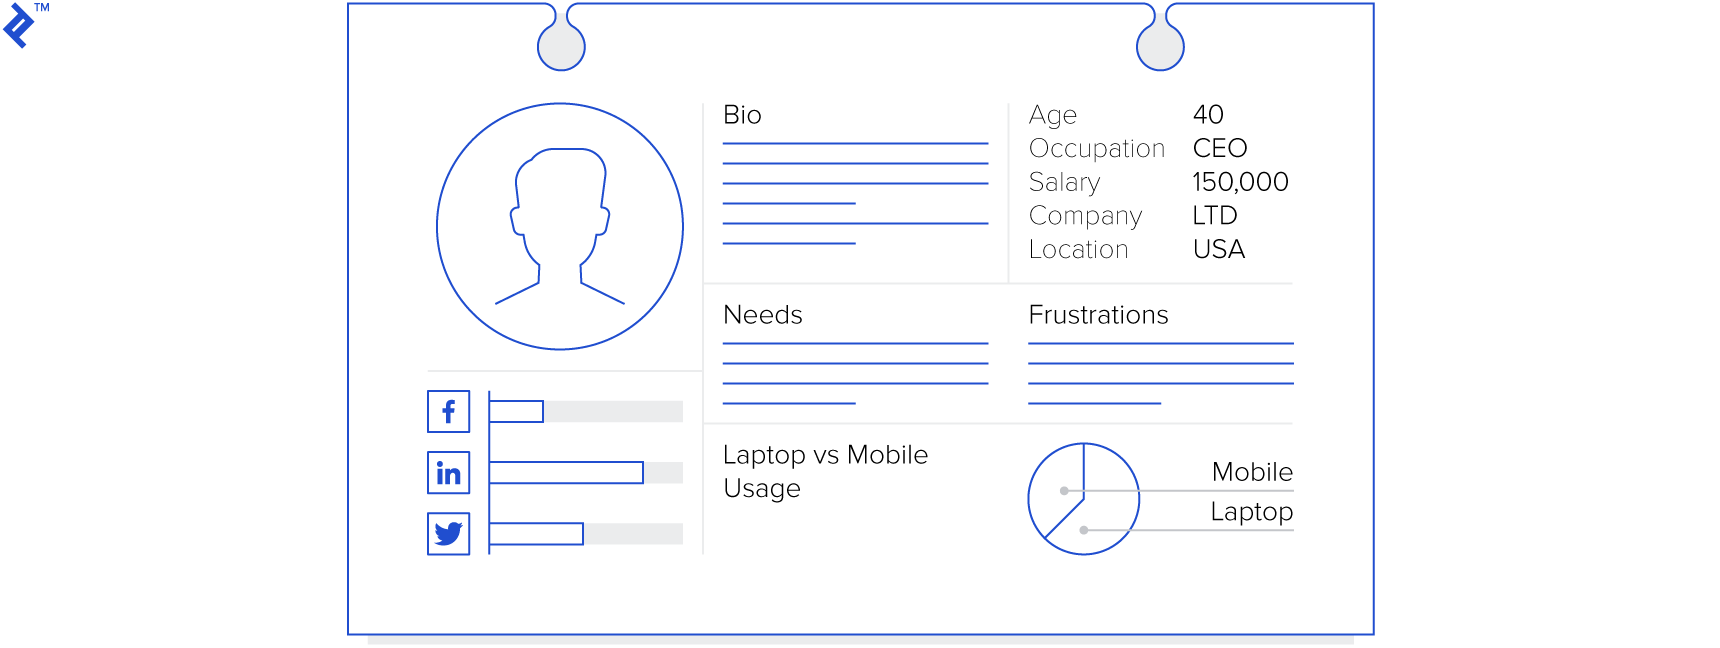
The dictionary meaning of define is to determine the identity and the essential qualities of a notion . In our case we wanted to define the following:
- our ideal customers
- their problems
- the solutions to their problems
- the needs and fears of our customers that we had to address
In the design thinking terms, the define phase is where you analyze your observations and synthesize them into core problems that you have identified.
We had a sufficient database to understand what the real problems were. In addition to the feedback received in the Empathize phase, it contained points that were highlighted by Company X employees but had never been pointed out to management, as well as strengths, weaknesses, and other problems that have never been taken into account.
The next action was to create our User Personas. During this brainstorming phase, we involved the entire extended team. The brainstorming phase was always performed remotely, using video-conferencing systems and tools to track the personas and their creation in real time.
For each Persona, we identified their biography, their approach to technology, their use of social media, preferred brands, their needs, and ideas and speculated on what would have been their Customer Journey.
After this, we had selected the common client User Personas and had a finished set of data coming from interviews and surveys. This was the right time to get our hands dirty.
During the definition phase, we tried to transform a generic definition of a problem like, “We need a product that will increase our sales by 10%,” into a more specific solution like: “Men and adult women, between 35 and 45 years that are working in an office need to receive communications that have a legal validity to be sure that the sender is actually who they say they are.”
At this point in the project process, we had completed brainstorming sessions around our users, hypothesized solutions, and kept an open mind to every possible innovation. “The only stupid idea is the one never expressed” was the mantra.
In a short time, bearing in mind who our subjects were, we had a clear view of what was useful to our users, along with what needs and fears we should address along the customer journey.
We then engaged in building a “User Story Map,” which allowed us to categorize the process of users, mapping up to themes. For each of the personas, we defined the set of activities, stories, and tasks that we assumed they must complete during the journey. In doing so, we could quickly test our idea and understand if it met the core needs. If it did, we could bring it into the market faster than everyone else which was essential as our competitor was becoming more successful every day.
Stage 3 - Ideate
Ideation Phase: Using the above information, here the team ideates solutions. There are no silly or wrong ideas! Everything must be expressed and documented.
One step further from the definition is the Ideation phase, where the key is forming real concepts and solution, not just abstract definitions.
In design thinking terms, ideation is “the process where you generate ideas and solutions through sessions such as Sketching, Prototyping, Brainstorming, Brainwriting, Worst Possible Idea, and a wealth of other ideation techniques.”
Our team was completely remote so we decided to proceed to work in a Lean way when producing materials and reviewing them. For example, designers and other members of the team have agreed that to be as fast as possible, the best solution would be to start with drawings on paper and to share photos of them in the group. Only then we would produce the most interesting designs in Balsamiq or Axure.
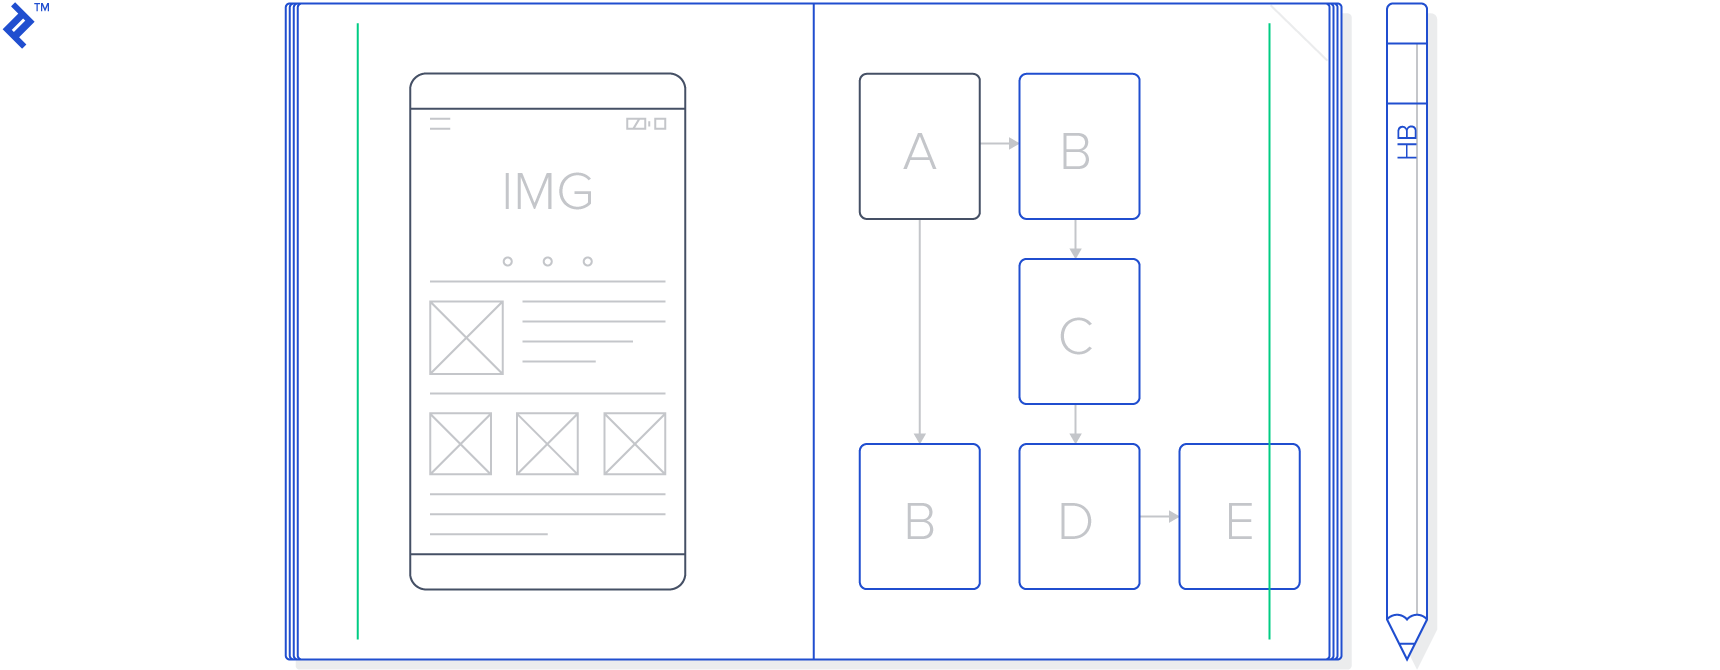
For each sketch that was produced, we gathered information from users, we defined a set of solutions and we came back to those users (whenever it was possible and as often as it was possible) to test with them the process and the result.

Stage 4 - Prototype
Prototyping Phase: _ During this phase, something tangible is created, that will allow you to verify your idea in real life. Don’t overcomplicate and create this MVP as quickly as possible. _
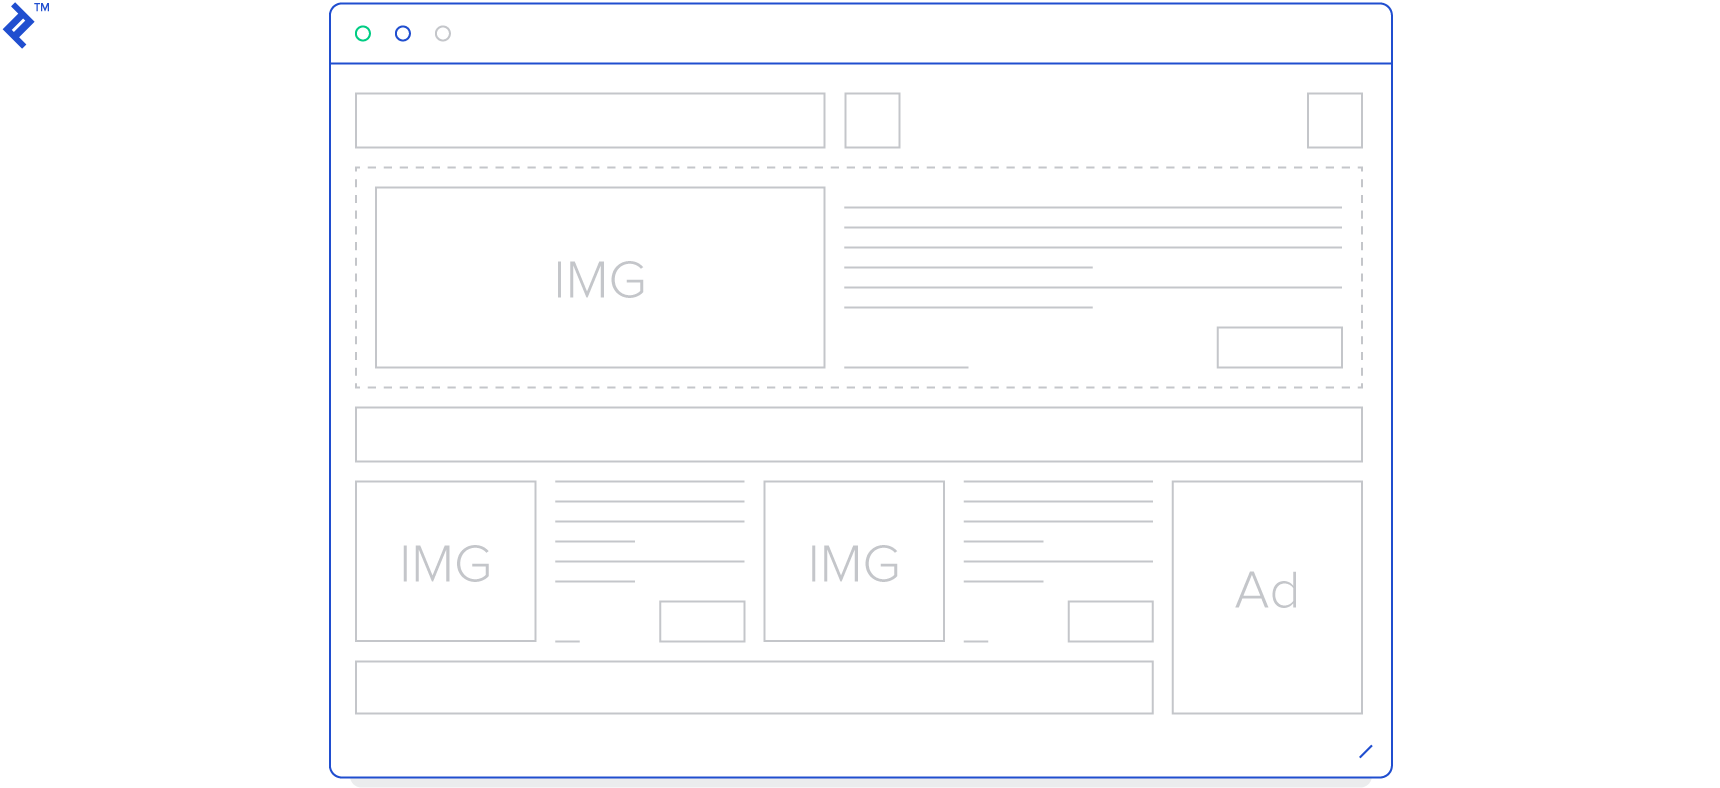
During the prototype phase, it was finally time to make our definitions and ideas come to life. A prototype is the first, original model of a proposed product, and this is exactly what we set out to build. By design thinking standards, the prototype stage is where you create an inexpensive, scaled down versions of the real product to investigate solutions from the previous stages.
After almost 10 days from the beginning of our journey, we arrived at the crucial moment, a meeting with a developer team where we had a chance to check our assumptions and estimations. After a session of consultation and definition with the team of developers, we weighed the stories and understood that the major effort of the development work will be in the development of the back-end system and interfacing with the legacy systems currently in place. Alongside this, we also realized that creating the front-end systems will be a much shorter exercise. Thus, we decided to create a front-end prototype using the components which already existed in the system to save time.
We had a time limit of 3 days to have a first version of the prototype ready. This prototype had to reflect the product as much as possible and maintain the necessary functionality.
After 3 days we had our first version of the prototype ready. It had “fake” data which reflected the behavior of the software we were aiming to create. Some accessory elements were missing, but the software in that state visually represented a good percentage of total content planned.
At the end of two weeks of work, we had software that we could try and test with actual users. We used user experience monitoring software to analyze heat maps and user attention, while they were navigating our prototype.
Stage 5 - Test
Testing Phase - Verify your idea in real life with actual users. Get feedback. Ask questions on how to improve it.
After a definition, ideation and a prototype phases it was finally time to see if our product actually worked in real life. In design thinking terms, testing means putting the complete product to trial using the best solutions created in the prototyping phase.
In our case, the testing phase did not only take place at the end, but it was a constant loop of feedback and iteration whenever it was possible. At the end of each accomplished step, we tried to get feedback from users or customers, before convincing ourselves to move on to the next phase.
Once the prototype was completed, it was time to test it with the widest possible audience and check with them how effectively it met their needs, understand their perception, and understand if it accomplished their goals.
The testing phase specifically included a walkthrough prototype where users were able to see the new workflow and perform actions, along with a few sessions where the team directly observed users, while tracking their responses. A simple questionnaire was used to collect conversion rates across specific features in the platform, where users were asked to score the process from 1-10.
The testing phase was later extended to the whole team and even to some individuals outside the organization (customers and users) who during the earlier sessions, had willingly consented to give their feedback on the implementation of the system.
The results of this testing were encouraging. The stakeholders of the Company X were able not only to see the mockups but to try out and “touch” the product for the very first time. The extended team had the opportunity to test and verify their assumptions and correct them over time within the period of two weeks.
Now the final test was waiting: opening it to users and understanding what would happen next.
Stage 6 - Implement
Implementation Phase: This is the phase where all the collected knowledge gets translated into a final product.
We had data, ideas, personas, and our first tangible prototype. It was time to roll up our sleeves and start developing. We had a month and a half to implement our new system.
We defined a set of rules to get our MVP implemented in a short period of time:
- We will build only what we had defined, without adding new features.
- We will keep ourselves focus on the main business goal.
- We will use agile methodologies within teams to manage the workload.
To complete the project in time we have brought on a few new team members who had not been involved in the project since the very early stages of the discovery phase.
We added frontend developers, backend developers, and designers. The new members of the team were working remotely and it was not possible to bring them all in the same room for the period of the project, so we made sure that we have the right tools for keeping the communication going.
The process put in place to manage the work was an Agile one. We divided the remaining time into several short sprints, with remote meetings every day and updates via Slack during the day to exchange the ideas and to help each other to solve problems.
We didn’t have a full documentation stored somewhere, but mentally we all had a comprehensive set of actions, a common shared vision, and goals amongst the team. We all started to perceive the User Personas to be a real user, with his own needs and problems. Once our team started to have an aligned vision, we moved onto defining what needed to be done and when in order to finish the project on time.
The activities were outlined within a User Story Map, to maintain the original evidence of the personas and the flow we want to give to the product.
The User Story maps were created via three clear steps: identifying the activities, identifying the steps required to complete the activity, and the list of stories/tasks associated with each. We sorted the stories according to priority (Must, Should, Could), which dictated what components made it into the product.
The team was able to proceed in a fast pace since the very beginning of the implementation, thanks to a clear vision shared by the team, and by the method we employed which enabled the team to stay on track without direct steering from the management above. Everyone working in the project had questions from the Design Thinking stages in mind:
- What action each user inside our platform should perform and what were they trying to achieve?
- Which steps those users should take to reach the final goal?
- Which pain points they had before and how should we avoid them?
This allowed our team to make their own micro-decisions, and steer the product towards its final goal.
We made two reviews of the work in progress at the end of each sprint and one final release review at the end of the path, before the product was finally put into production. We used the last sprint to prepare the infrastructure needed to run and launch the product.
Finally, the users who have used our old product were invited again to try out the new version. Our product was released into production two months after the meeting in which the idea to make it was expressed. The product worked, users started using it, and we progressively sent more new users to this tool instead of the old one. A/B testing showed us that they preferred the new product, and the project was accepted in the company as a great success.
More importantly, a Design Thinking methodology was finally accepted. We believe this will have a good and long-lasting impact and will allow them to build better products in the future.
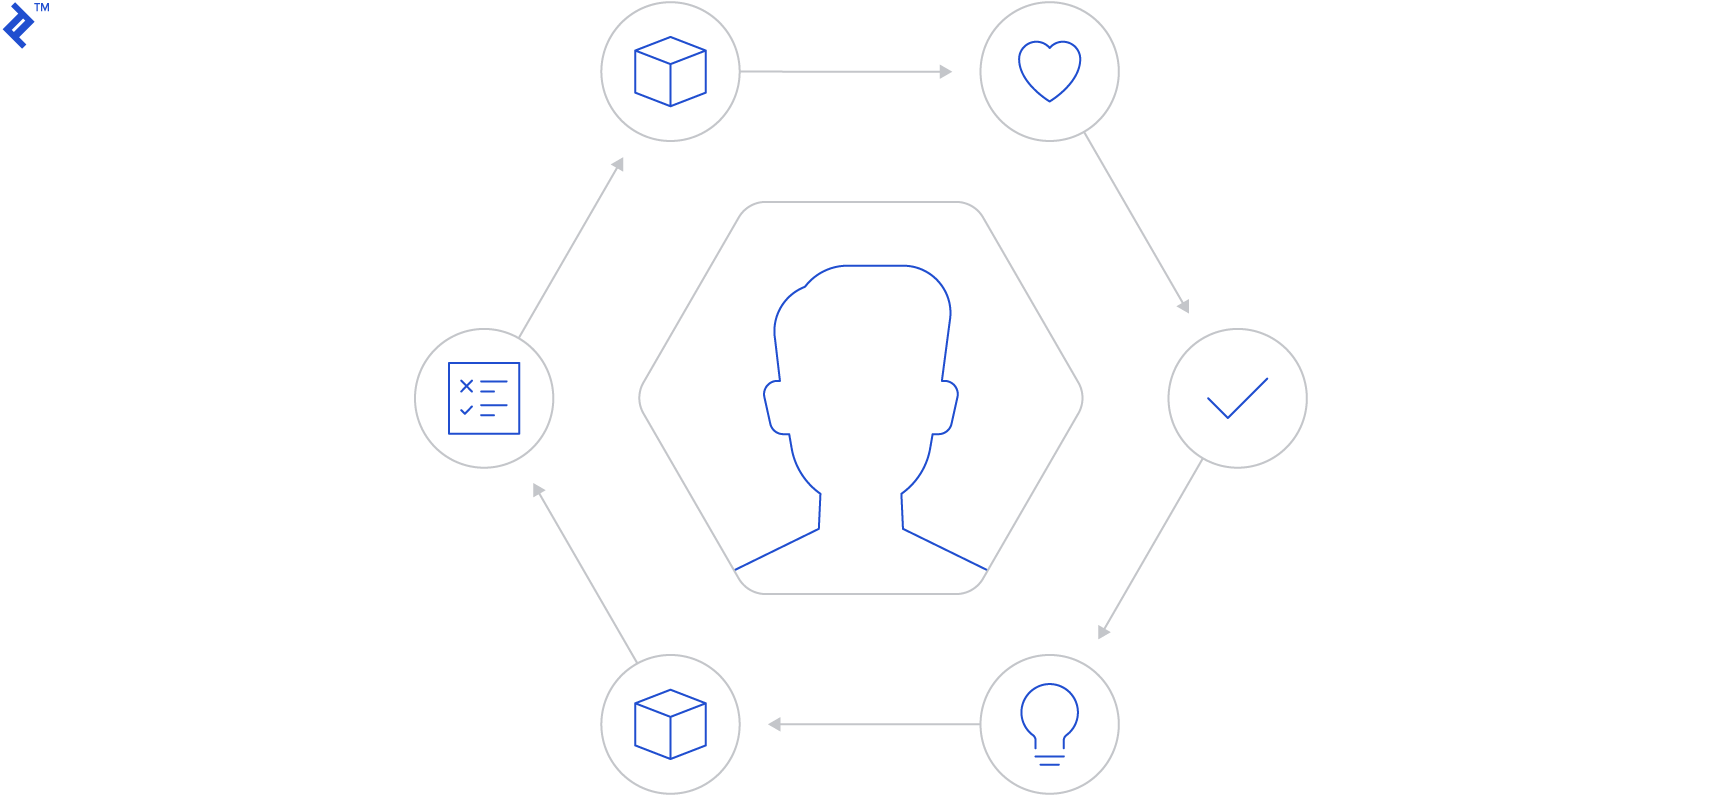
Throughout this case study, we have shown how Design Thinking methodology can be applied to a real-life problem with a limited time and budget.
Instead of using more traditional approaches and producing things in sequential steps, we have chosen to iterate through the six design thinking stages. Empathize. Define. Ideate. Prototype. Test. Implement. This became our mantra and allowed us to produce a very well received product.
Using Design Thinking has lead so to save time, and in turn, save costs spend on the project. We were not working on millions of different features, but only on few, well thought through actions that were clear to everybody in the team. Most importantly, we were able to deliver the product and value that users needed.
Using Design Thinking process helped us in many different areas:
- From the project management perspective, it enabled us to clearly define the scope of the project and prevent scope creep.
- From the business perspective, it allowed us to pick the features which bring the real value to the business.
- From the development perspective, it helped us see the clear goal of what we have to build before we even started building it.
- From the team perspective, it involved all team members and allowed them to effectively work together and have their opinion heard in every part of the process.
When we started Design Thinking process was met with skepticism by the client, but when we finished and got the feedback from our customers, it was immediately clear that the steps we have laid out have helped us to achieve something that would have been very hard or impossible otherwise. This was valued by the client and became their internal a flagship project for the future challenges ahead.
Understanding the basics
Design Thinking is a methodology that provides a solution-based approach to solve problems, focusing on understanding the user perspective, with a human-centered point of view.
Why is Design Thinking useful?
Design Thinking is particularly useful because it generates a unique and specific outcome: knowledge.
What phases does the Design Thinking process have?
- Empathize. 2. Define. 3. Ideate. 4. Prototype. 5. Test. 6. Implement.
- ProjectManagement
- Designthinking
Luciano Castro
About the author.
World-class articles, delivered weekly.
Subscription implies consent to our privacy policy
Toptal Project Managers
- Asana Experts
- Blockchain Project Managers
- Business Delivery Managers
- Business Transformation Program Managers
- Client Delivery Managers
- Digital Project Managers
- Digital Delivery Managers
- Digital Transformation Program Managers
- eCommerce Project Managers
- Enterprise Coaches
- Jira Administrators
- Kanban Project Managers
- Lean Project Managers
- Learning Management System Administrators
- Mobile Project Managers
- PMI Project Managers
- PMO Specialists
- PMP Project Managers
- Prince2 Experts
- Program Managers
- Scrum Project Managers
- Scrum Coaches
- Scrum Masters
- Software Project Managers
- Software Development Project Managers
- Technical Business Analysts
- Transformation Project Managers
- Waterfall Project Managers
- Web Project Managers
- View More Freelance Project Managers
Join the Toptal ® community.

IMAGES
VIDEO